
Phalaenopsis is one of the most popular flowering plants. When your orchid develops new flower spikes, it’s important to care for it properly to ensure you get the most spectacular blooms. Among them is the correct shaping of orchid spikes to protect the flowers.
1. When the orchid spikes are about 4-6 inches long, it’s a good time to start preventing orchid support clips and shaping the orchid. You will need a sturdy stake to insert into the growing medium and some clips to attach the flower spikes to the stake.
2. Insert the stake into the growing medium on the same side of the pot as the new spike. Stakes are usually inserted into the inside of the pot so that you can see and avoid damaging any roots. If you hit a root, twist the stake slightly and enter at a slightly different angle. Never force the stake in, as this may damage the roots.
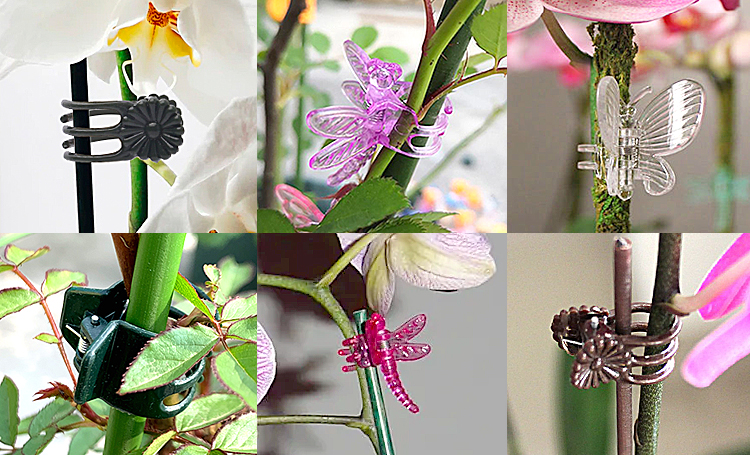
3. Once the stakes are firmly in place, you can use orchid clips to attach growing flower spikes to the stakes. You can use plastic orchid clips. Attach the first clip above or below the first node on the flower spike. Flower spikes sometimes produce a second spike from one of these nodes, or from a node after the main spike has bloomed, so try to avoid attaching clips at the nodes as it can cause damage or prevent the second spike from forming .
4. Use another clip to secure the flower spike to the stake every time it grows a few more inches. Try to keep the flower spikes growing vertically. Once the flower spike is fully developed, it will begin to develop buds. It is best to place the last clip about an inch below the first bud on the flower spike. After this, you can let the flower spikes bend slightly in hopes of creating a beautiful arch of flowers.
Post time: Sep-01-2023


